
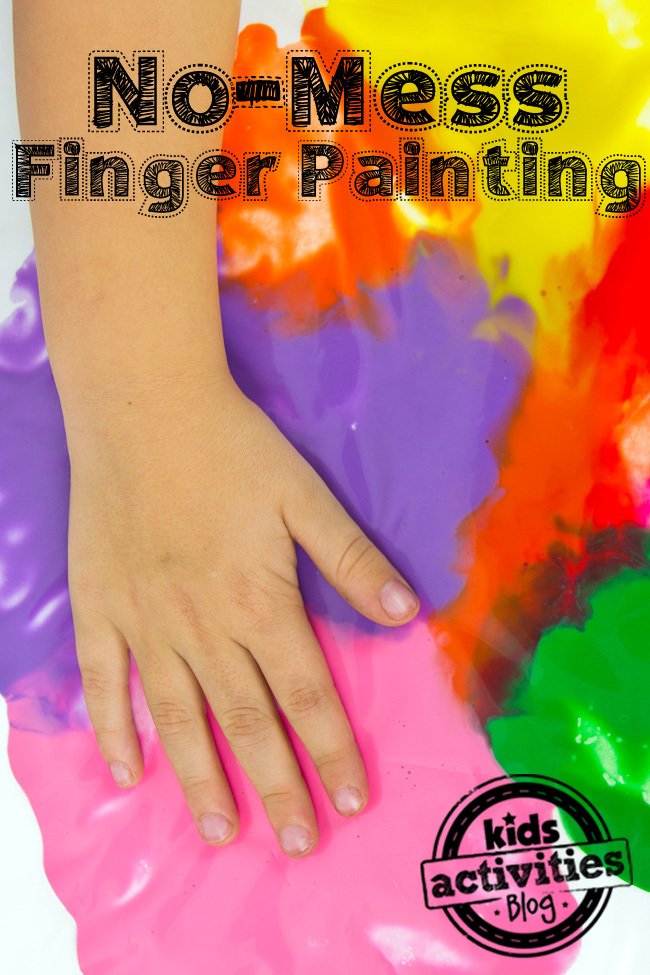
This No-Mess Finger Painting idea is genius for younger children who want to get their hands into a project, but you don’t want to have a huge mess. To be honest, kids of all ages will enjoy finger painting too!
No-Mess Finger Painting Ideas
Finger painting is a fun activity for when you want to keep kids busy without getting out a ton of supplies. Plus, it’s really fun — my preschooler can spend hours just playing in the paint!
Related: Make a batch of homemade finger paint and 22 Easy & Awesome Balloon Painting Ideas for Kids
Oh, and by the way…no smocks needed! You can set this mess free painting experience up at the high chair, on the floor or next to you at the table for fun sensory play!
Easy Sensory Bag Idea Using Paint
My son doesn’t like to get paint on his hands, so this is the perfect activity for him. We practice tracing letters, drawing shapes, and just squishing in the paint. He loves it!
This article contains affiliate links.
Supplies Needed for No-Mess Finger Painting
Watch Our Short Video on How to Paint Through Plastic Bag
Directions to Make No Mess Finger Paint Activity
Step 1
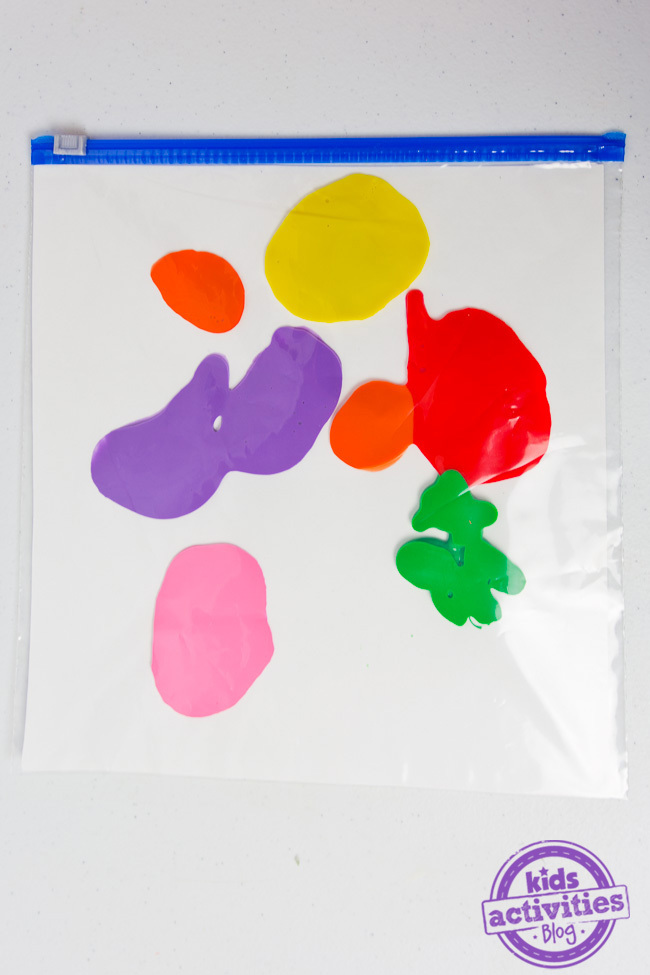
Cut the poster board to fit just inside the Ziploc bag.
Place it inside the plastic bag.
Step 2
The next step is to add different colors of finger paint into the bag. We used: orange, yellow, purple, red, green and pink finger paints.
It’s best if the finger paint is added in different areas of the bag.
Step 3
Press out the air and seal the bag.

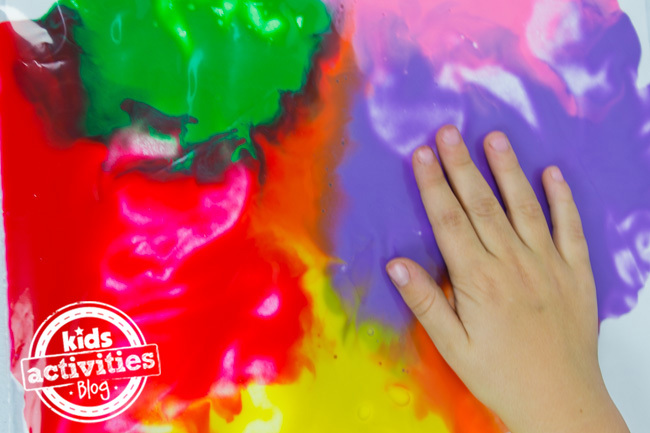
Paint Inside a Plastic Bag!
Set on a table, and it’s ready for your child to paint!
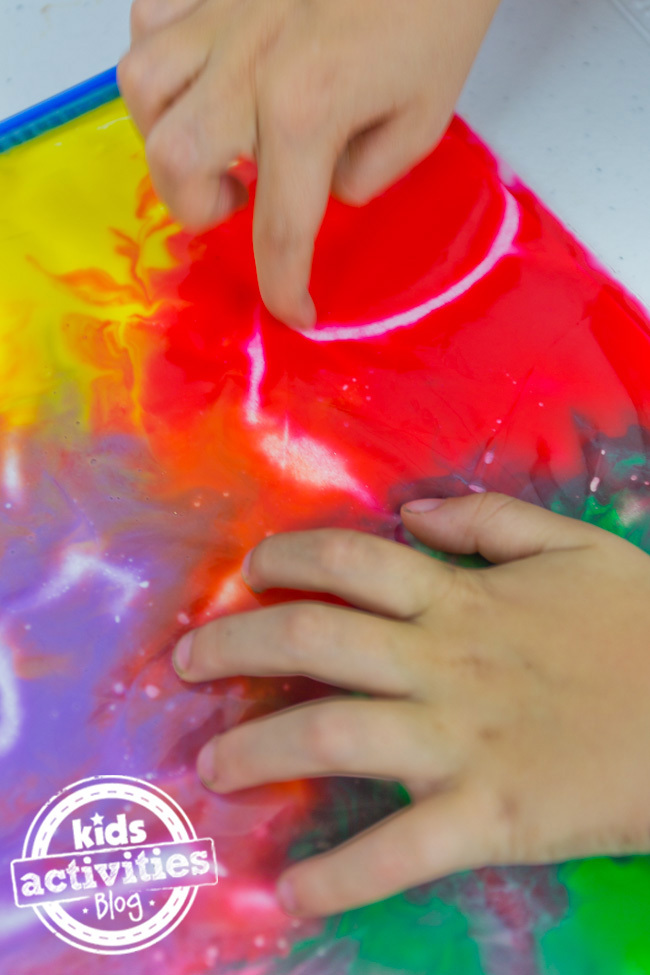
They can squish the paint with their fingers or draw shapes or write into the paint.
Cleaning Up No Mess Finger Painting is Easy
When they’re done painting, you can remove the paper and allow it to dry, or just throw the whole bag away for the cleanest project ever!
Is finger paint safe for toddlers and young children?
Yes, finger paint is generally considered safe for toddlers and young children. However, it’s important to use non-toxic and child-friendly finger paints specifically designed for young children. These finger paints are typically made with safe and washable ingredients.
When selecting finger paints, look for products that are labeled as non-toxic, washable, and explicitly mention that they are safe for children. These paints are formulated to be easily washable from skin, clothing, and surfaces, reducing the risk of staining or irritation. This finger paint kit from Crayola is a great example of what you should look for in labeling.
To make sure your kids are safe during finger painting, you should supervise young children and encourage them to keep the paint on their hands and the paper rather than putting it in their mouths or eyes.
How do I remove finger paint from clothes or surfaces?
This article is all about no mess finger paint for toddlers. But they are toddlers… Things happen. If you choose finger paint for your toddler that is designed to be washable, the mess will be much easier to clean up. But here are some guidelines to keep handy for those days when your toddler thinks your chairs are prettier if they are rainbow-colored.
To remove finger paint from clothing, begin by scraping off any excess paint using a spoon or dull knife. Next, rinse the stained area under cold water to help loosen the paint. Apply a small amount of liquid dish soap or laundry detergent directly to the stain and gently rub the fabric together to work the soap in. Let it sit for a few minutes. Then, wash the clothing item following the care instructions provided on the label. Check if the stain is gone before drying the garment. If the stain persists, you can repeat the process or try using a stain-removing product.
For surfaces, start by wiping off any excess paint with a damp cloth or paper towel. Mix a solution of mild soap and warm water. Dip a cloth or sponge into the soapy water and gently scrub the painted surface. Rinse the area with clean water and pat it dry. If the stain is stubborn or the surface is porous, you may need to use a gentle cleaning product or a specialized cleaner suitable for that surface. Always make sure to follow the instructions provided by the manufacturer. Remember to test any cleaning method or product on a small, inconspicuous area first to ensure it doesn’t cause any damage or discoloration.
How do I make homemade finger paint?
Yes! You can make your own finger paint for your kids! Homemade finger paint is easier than you think!
Ingredients:
- 1/2 cup cornstarch
- 3 tablespoons sugar
- 2 cups water
- Food coloring or liquid watercolors
Instructions:
- In a saucepan, whisk together the cornstarch, sugar, and water until the mixture is smooth and well combined.
- Place the saucepan on the stove over medium heat. Stir the mixture continuously as it heats up.
- Continue stirring until the mixture thickens and reaches a smooth, paint-like consistency. This usually takes about 5-7 minutes.
- Once the mixture has thickened, remove the saucepan from heat and let it cool slightly.
- Divide the mixture into separate containers or jars, depending on how many colors you want to make.
- Add a few drops of food coloring or liquid watercolors to each container and stir well to incorporate the color. Adjust the amount of coloring until you achieve the desired shade.
- Allow the finger paint to cool completely before using it.
Now you have homemade finger paint ready to use! You can store it in airtight containers for future use. Remember to cover the containers tightly to prevent the paint from drying out. Enjoy exploring your creativity with this homemade finger paint!
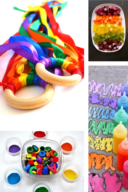
More Fun Painting Activities from Kids Activities Blog
- Let’s make homemade bathtub paint with this easy recipe for painting fun.
- Let’s make edible paint.
- Rock painting ideas for kids have never been easier.
- Here is an easy way how to make watercolor paint.
- Box painting ideas with a science twist!
- Let’s do some ice painting!
- How to make paint is fun and easier than you might think!
- Simple chalk art ideas for painting with chalk and water.
- Let’s make a paint bomb.
- Let’s make our own scratch and sniff paint.
- We love these fun puffy paint ideas!
- We have a non-toxic paint recipe, perfect for toddlers!
How did your no mess finger painting masterpiece turn out?


0